


When I was six years old I was given a toy rocket as a Christmas present. Sure, it was made out of rubber and launched by combining backing soda with vinegar, but as soon as I saw it fly into the air I was hooked.
A few years later I decided to build my own rockets. I started thinking about the different components of a rocket, and what might be the potential materials for them, then chose one based on my knowledge of that material. For example, the fuselage is paper, which I made into cardboard by layering the strips of paper over itself and gluing it on a wooden mandrill. When it dries you take the mandrill out and you have your fuselage! For the nose cone I needed something that could hold up to air, if it is wind-blasted, and won’t break on impact if the parachute doesn’t deploy, so for that I chose foam with a small wooden bit so I could slide the nose cone into the fuselage. There is a small elastic band that connects the nose cone to the fuselage so it stays connected even when the parachute is deployed. For the fins I needed something similar to the nose cone in that wouldn’t flex given enough wind, but something that is also very light and won’t hinder the rocket, so for this I chose balsa wood. It is a little bit fragile so I had to handle it with care.
For the recovery system I had to make a parachute so I used twine and a piece of plastic from a clear plastic bag. The parachute itself was a circle, so I used a marker to draw a circle on a plastic bag and cut it out with scissors. Then I punched 6 small holds on the outer edge of the circle (even though circles don’t really have edges) and wrapped twine into the holes, tied them in knots, and brought all 6 strings together and connected them to the inside of the fuselage. For the engine I bought a pre-made engine from a rocket company - it’s gunpowder in a thick cardboard tube, approximately 2 inches long. There is a difference in how much gunpowder is in the engine depending on how high you want the rocket to go. The engine serves two purposes: one is to launch the rocket and the other is to pop off the nose cone to let the parachute deploy. When the engine is running it pushes its energy down, which makes the rocket go up. Right before the engine goes out it pushes a little energy towards the nose cone which pops off the nose cone. When the nose cone pops off the recovery system leaves the fuselage.
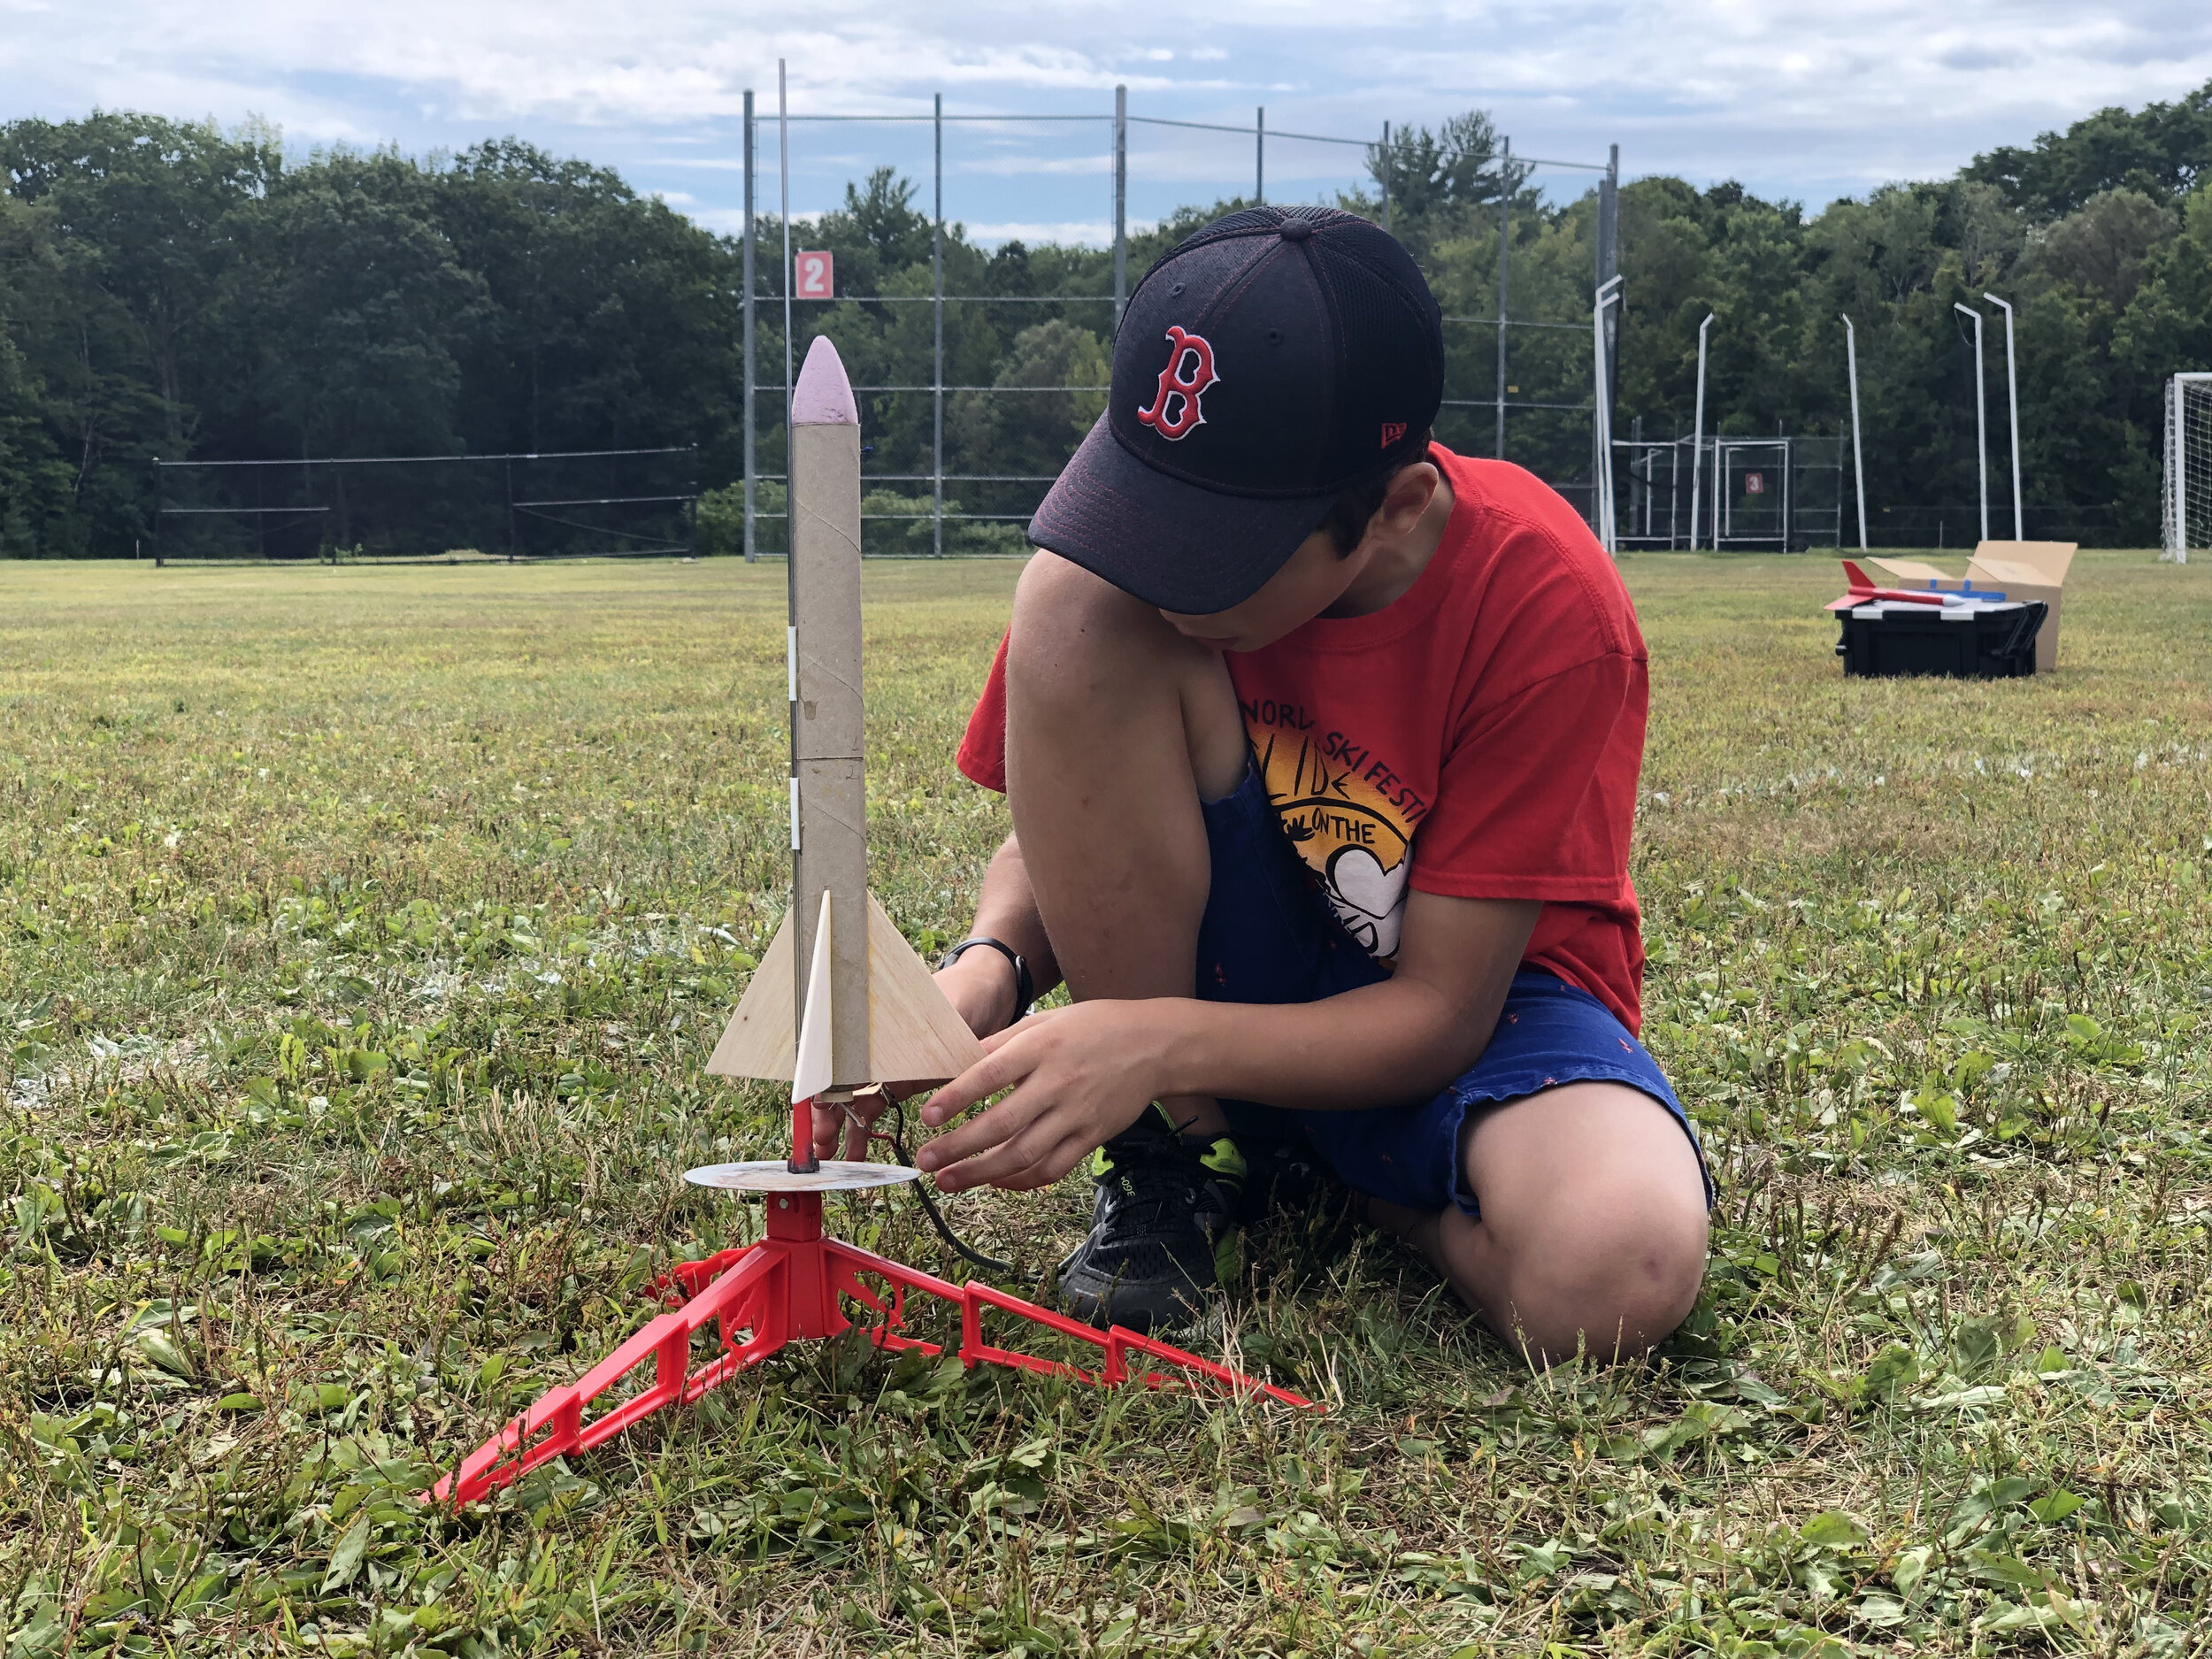
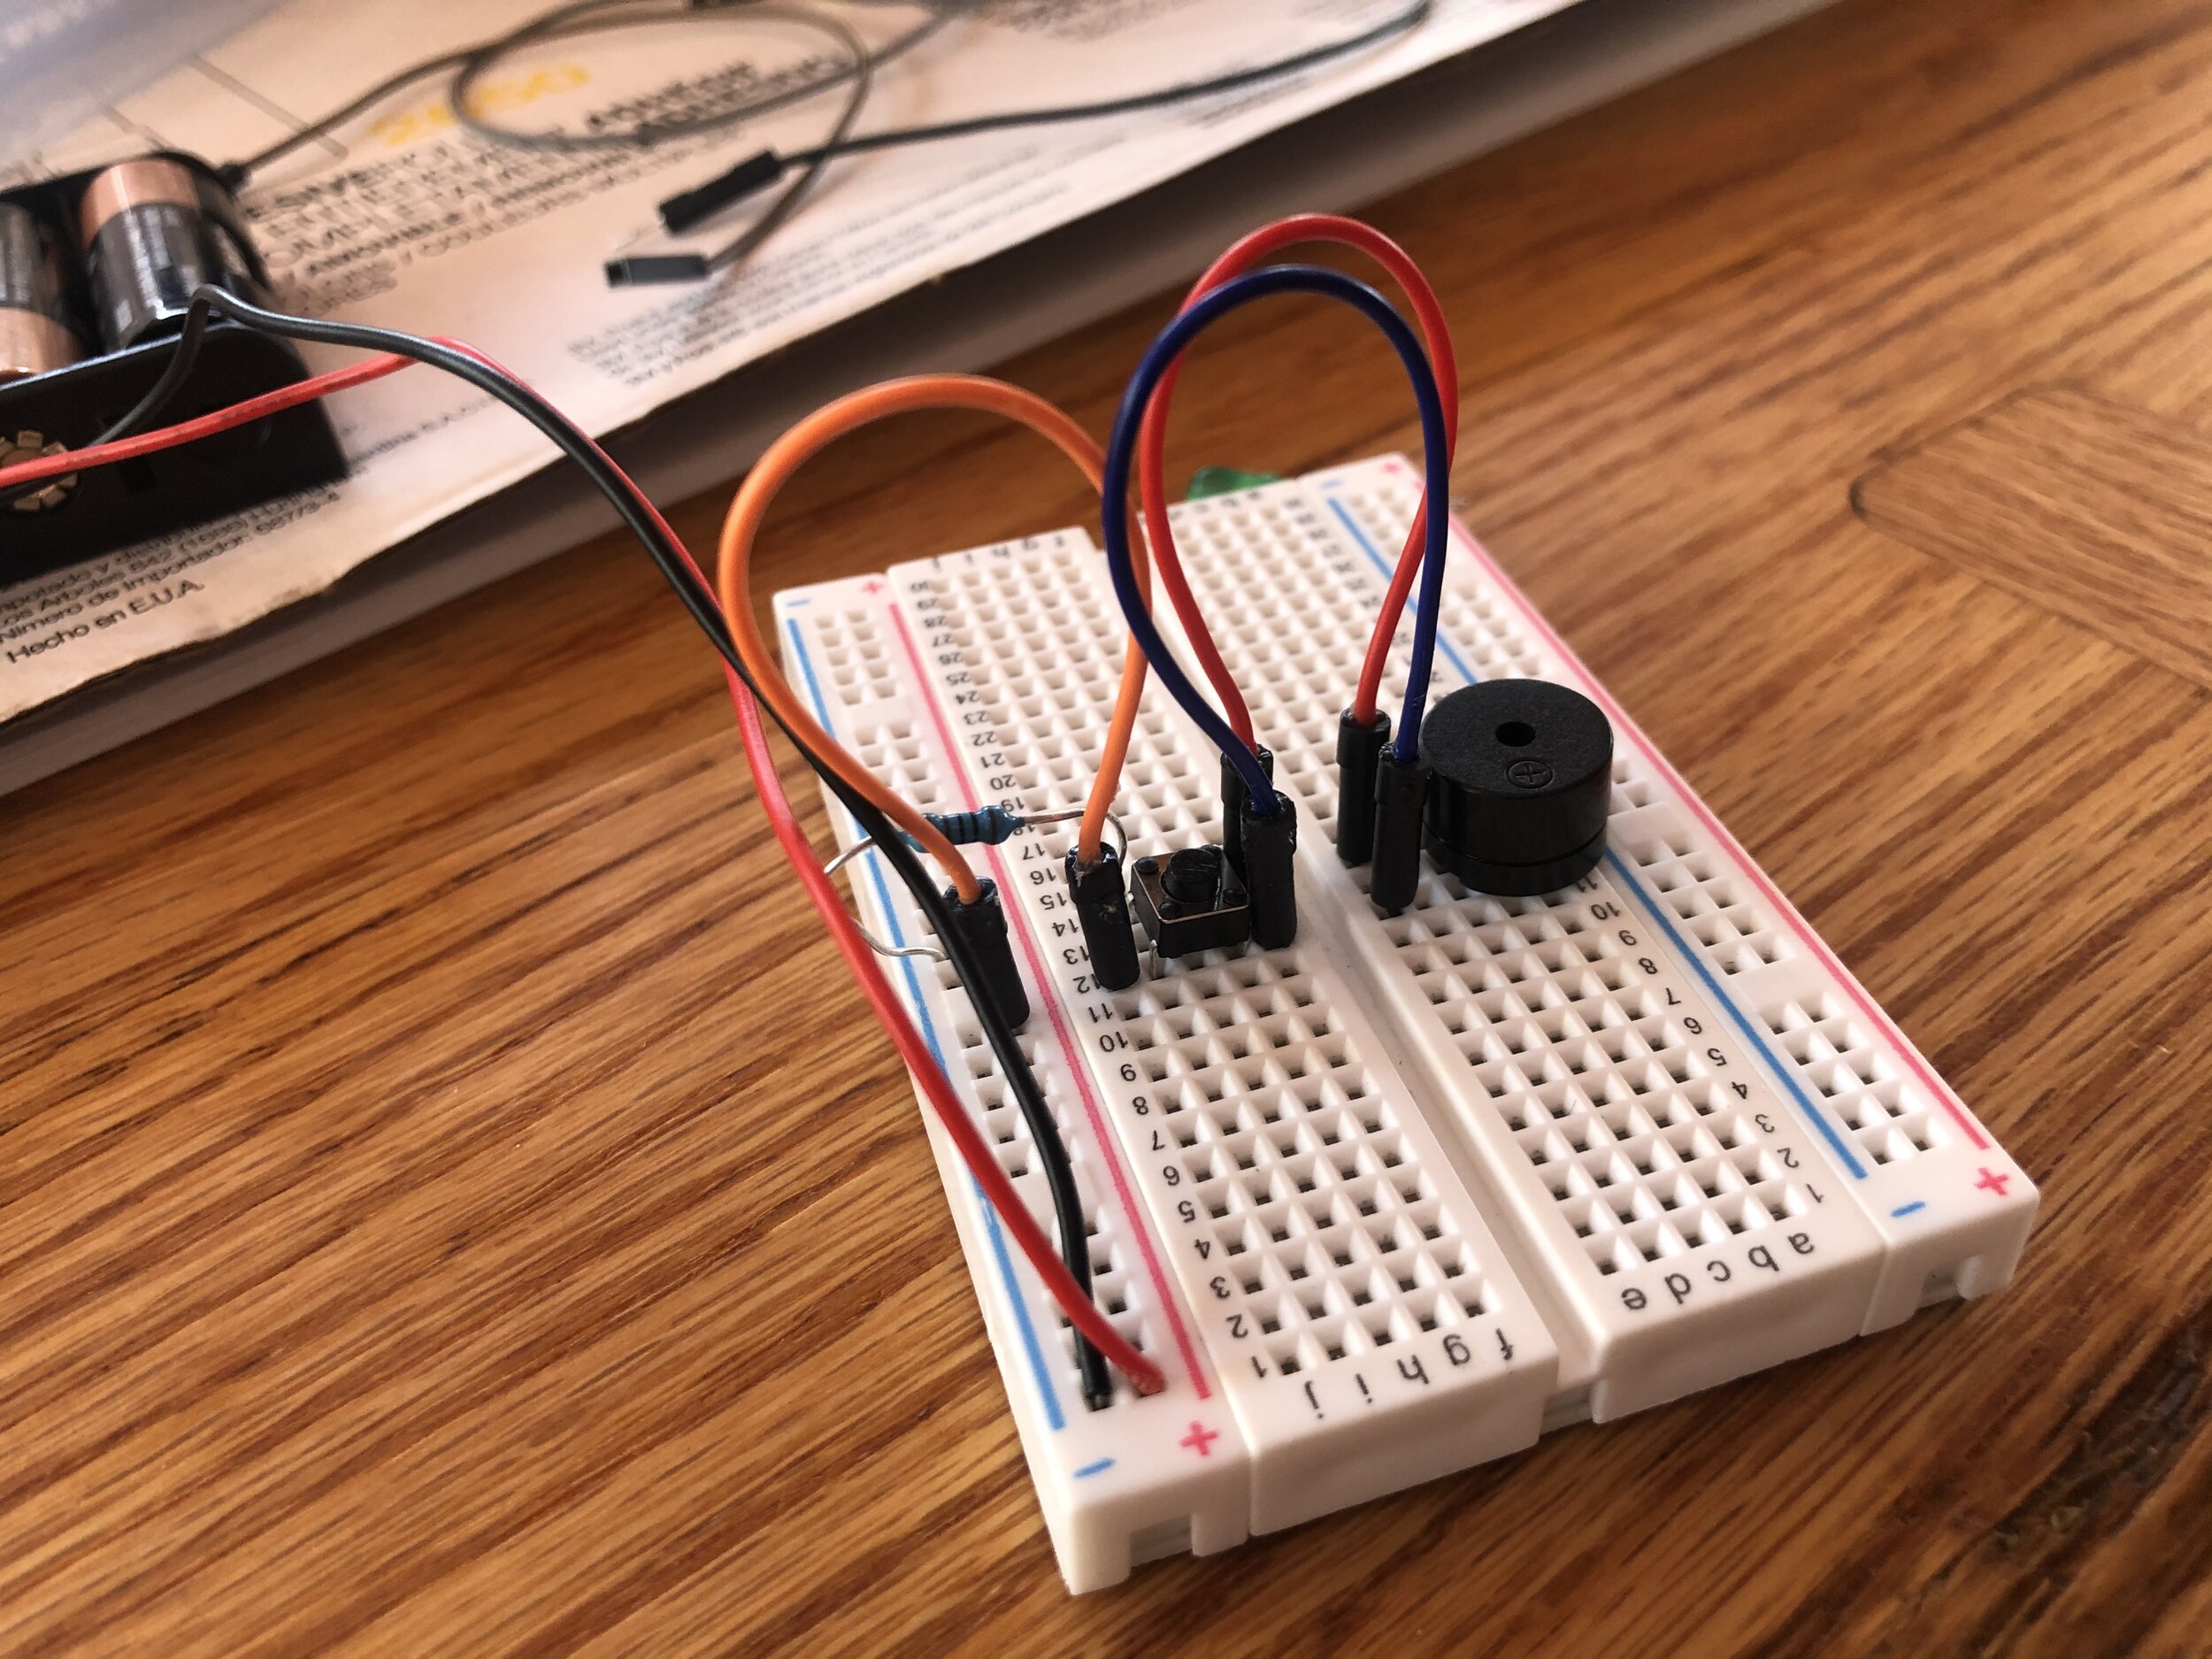
Building and launching my own rockets was confusing at times because I didn’t know what to do, so I either had to ask for help or do research on how to do it. It was a homemade rocket, but it wasn’t just cobbled together. I put a lot of thought into designing it. It was confusing, but it was also really fun, and I am really proud of what I put together. Because I want to carry arduinos (miniature computers) to measure altitude and speed, I had to design a 2-part rocket so the rocket could carry the arduinos and not be damaged by the heat of the engine. Rockets aren’t usually made this way so it was a problem I had to solve for myself. I solved this problem by making a 2-part rocket - my idea was inspired by looking at the Apollo program from the 1970s, where the astronauts sat at the top of the rocket and everything else was behind them. The top part of my fuselage stores the arduinos, the bottom part of the fuselage stores the parachute. The top part separates from the bottom when the parachute is deployed, which allows everything to fall safely to Earth.
My grandparents had gotten me a 3D printer for my birthday, and as soon as I received it I thought, “I can make rocket parts out of this!” To make my own rocket parts with a 3D printer I taught myself how to use Tinker CAD to model the parts and then 3D printed them. I wasn’t going to 3D print the entire body, such as the fuselage. The fuselage is the only part that I wanted to keep as paper because it is light, durable in its cardboard form, and it is easy and efficient to produce. I decided to 3D print the smaller objects, such as the fins, nose cone, and engine mount, because they are light and efficient to print.
The first component I started to 3D print was the nose cone. It was easy to design because TinkerCAD has many pre-coded objects you can combine. I combined a short cylinder with a 3D parabola by putting the cylinder on the bottom and the parabola on the top. Then I printed the fins. One potential challenge with the fins is that are slightly heavier than the fins made from balsa wood, and I am not sure if this extra weight will hinder the flight of the rocket. That gave me the idea for an experiment - I am going to test the efficiency and effectiveness of rockets with plastic parts versus natural parts (paper and balsa wood) by looking at weight, flight duration, durability, and production time.